 Active Metrics
Getting Started
1. Install from the App Store
Get Active Metrics from the App Store on the iPhone you pair with your Apple Watch. It needs iOS 26.2 and watchOS 26.2 or later.
2. Add it to your watch
The watch app usually installs alongside the iPhone app automatically — if it hasn’t appeared within a minute or two, check Watch → Installed on Apple Watch on your iPhone.
3. Walk through the welcome tutorial
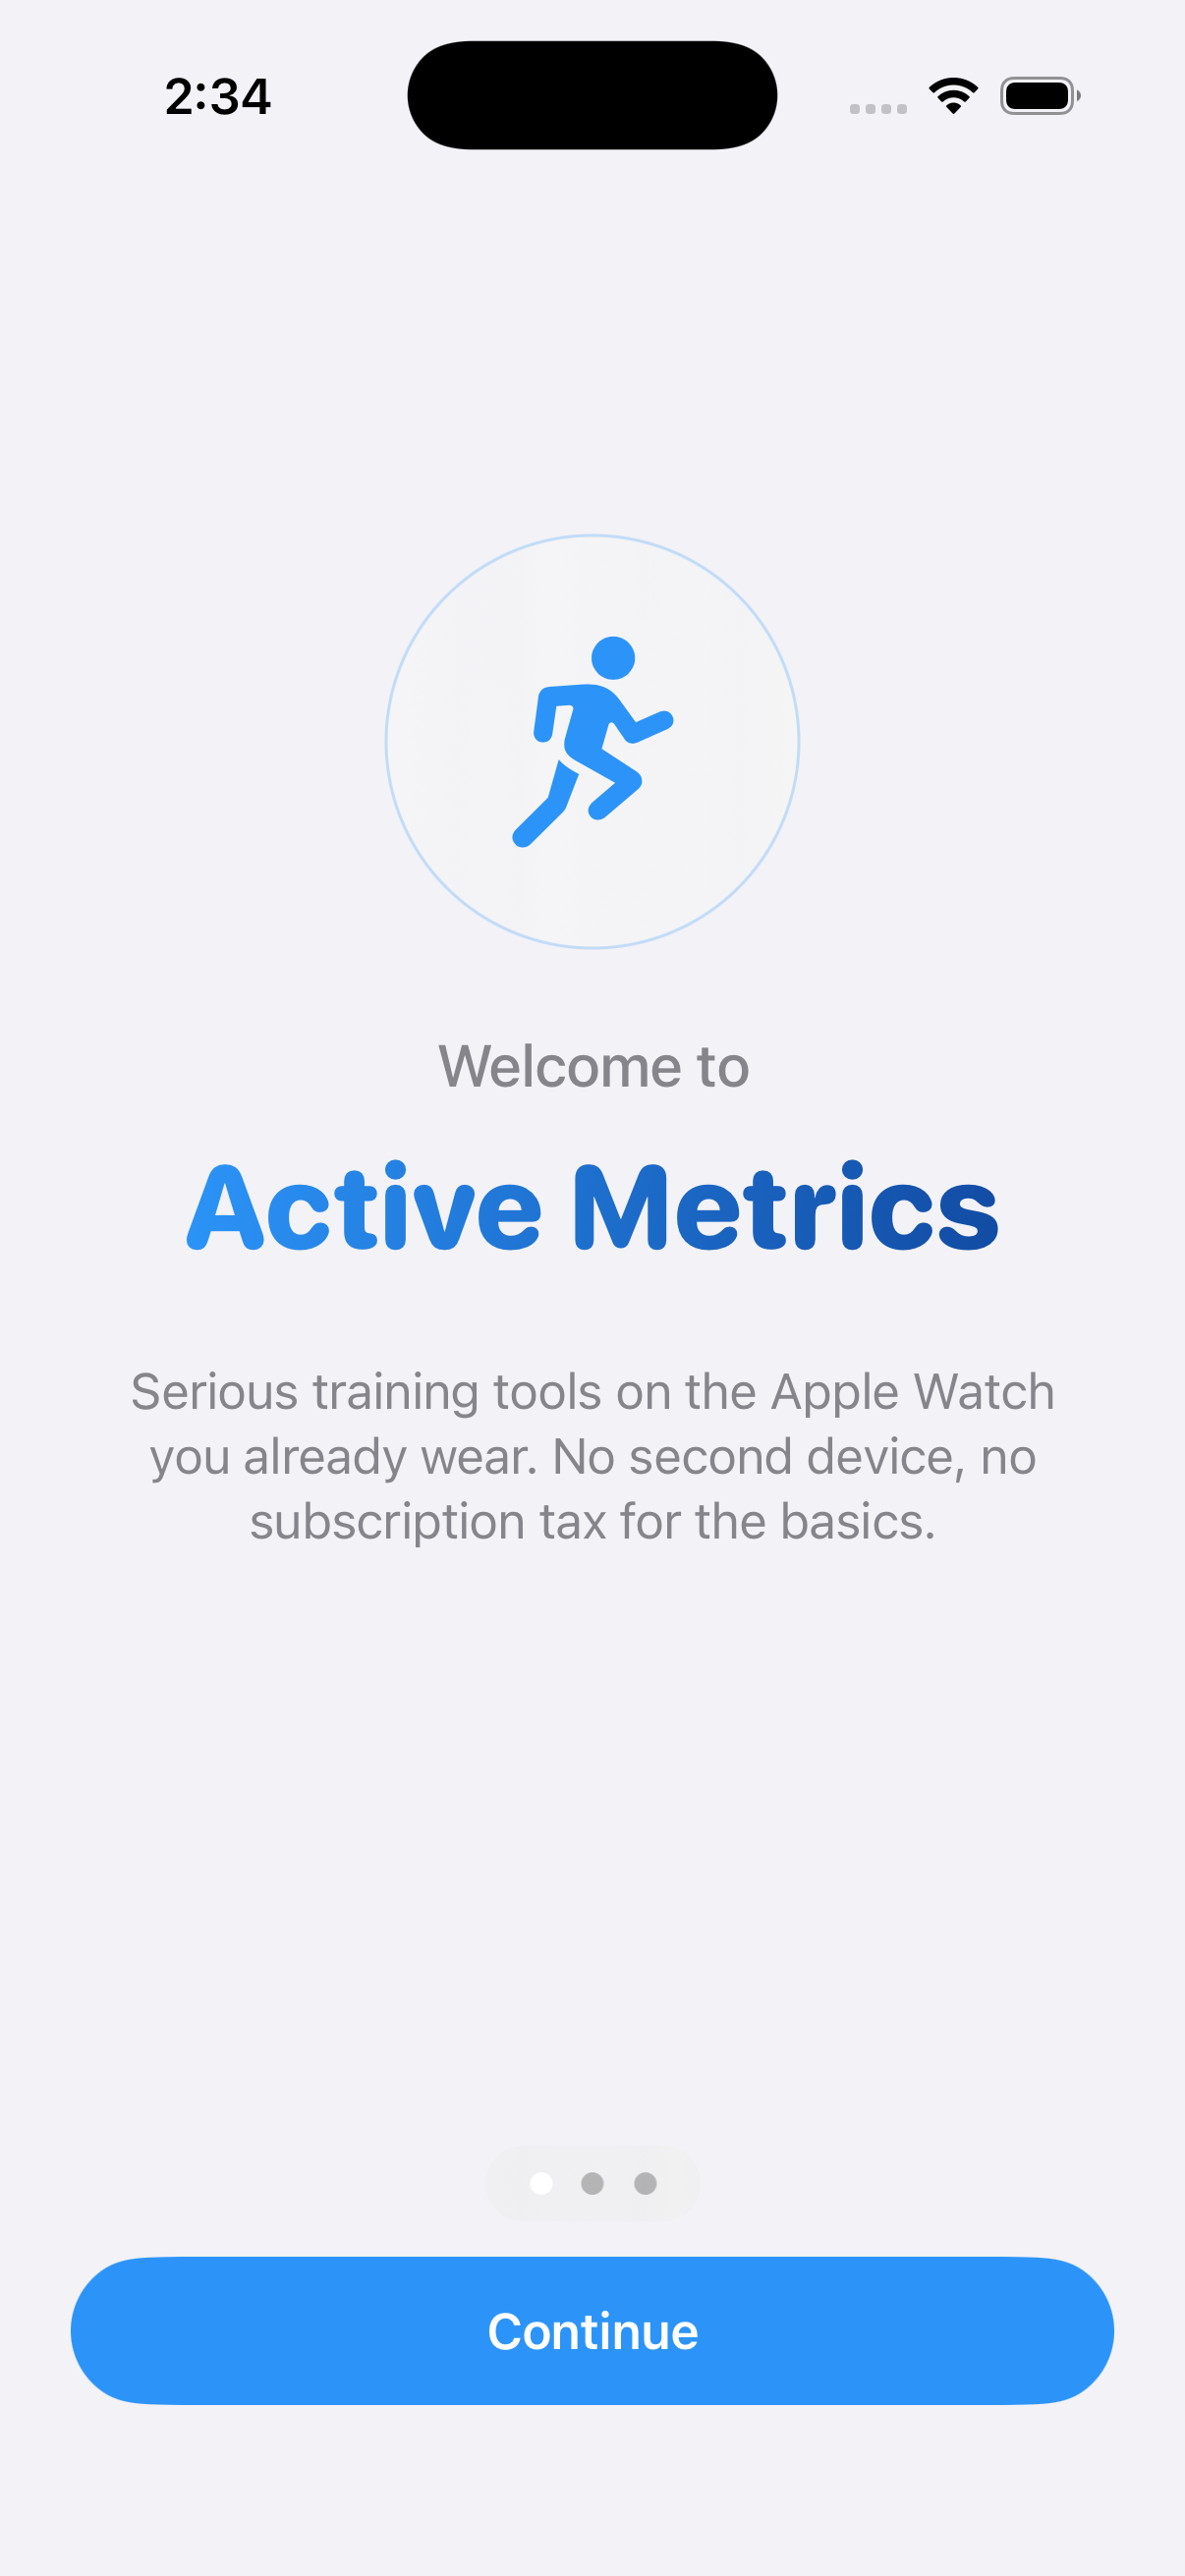
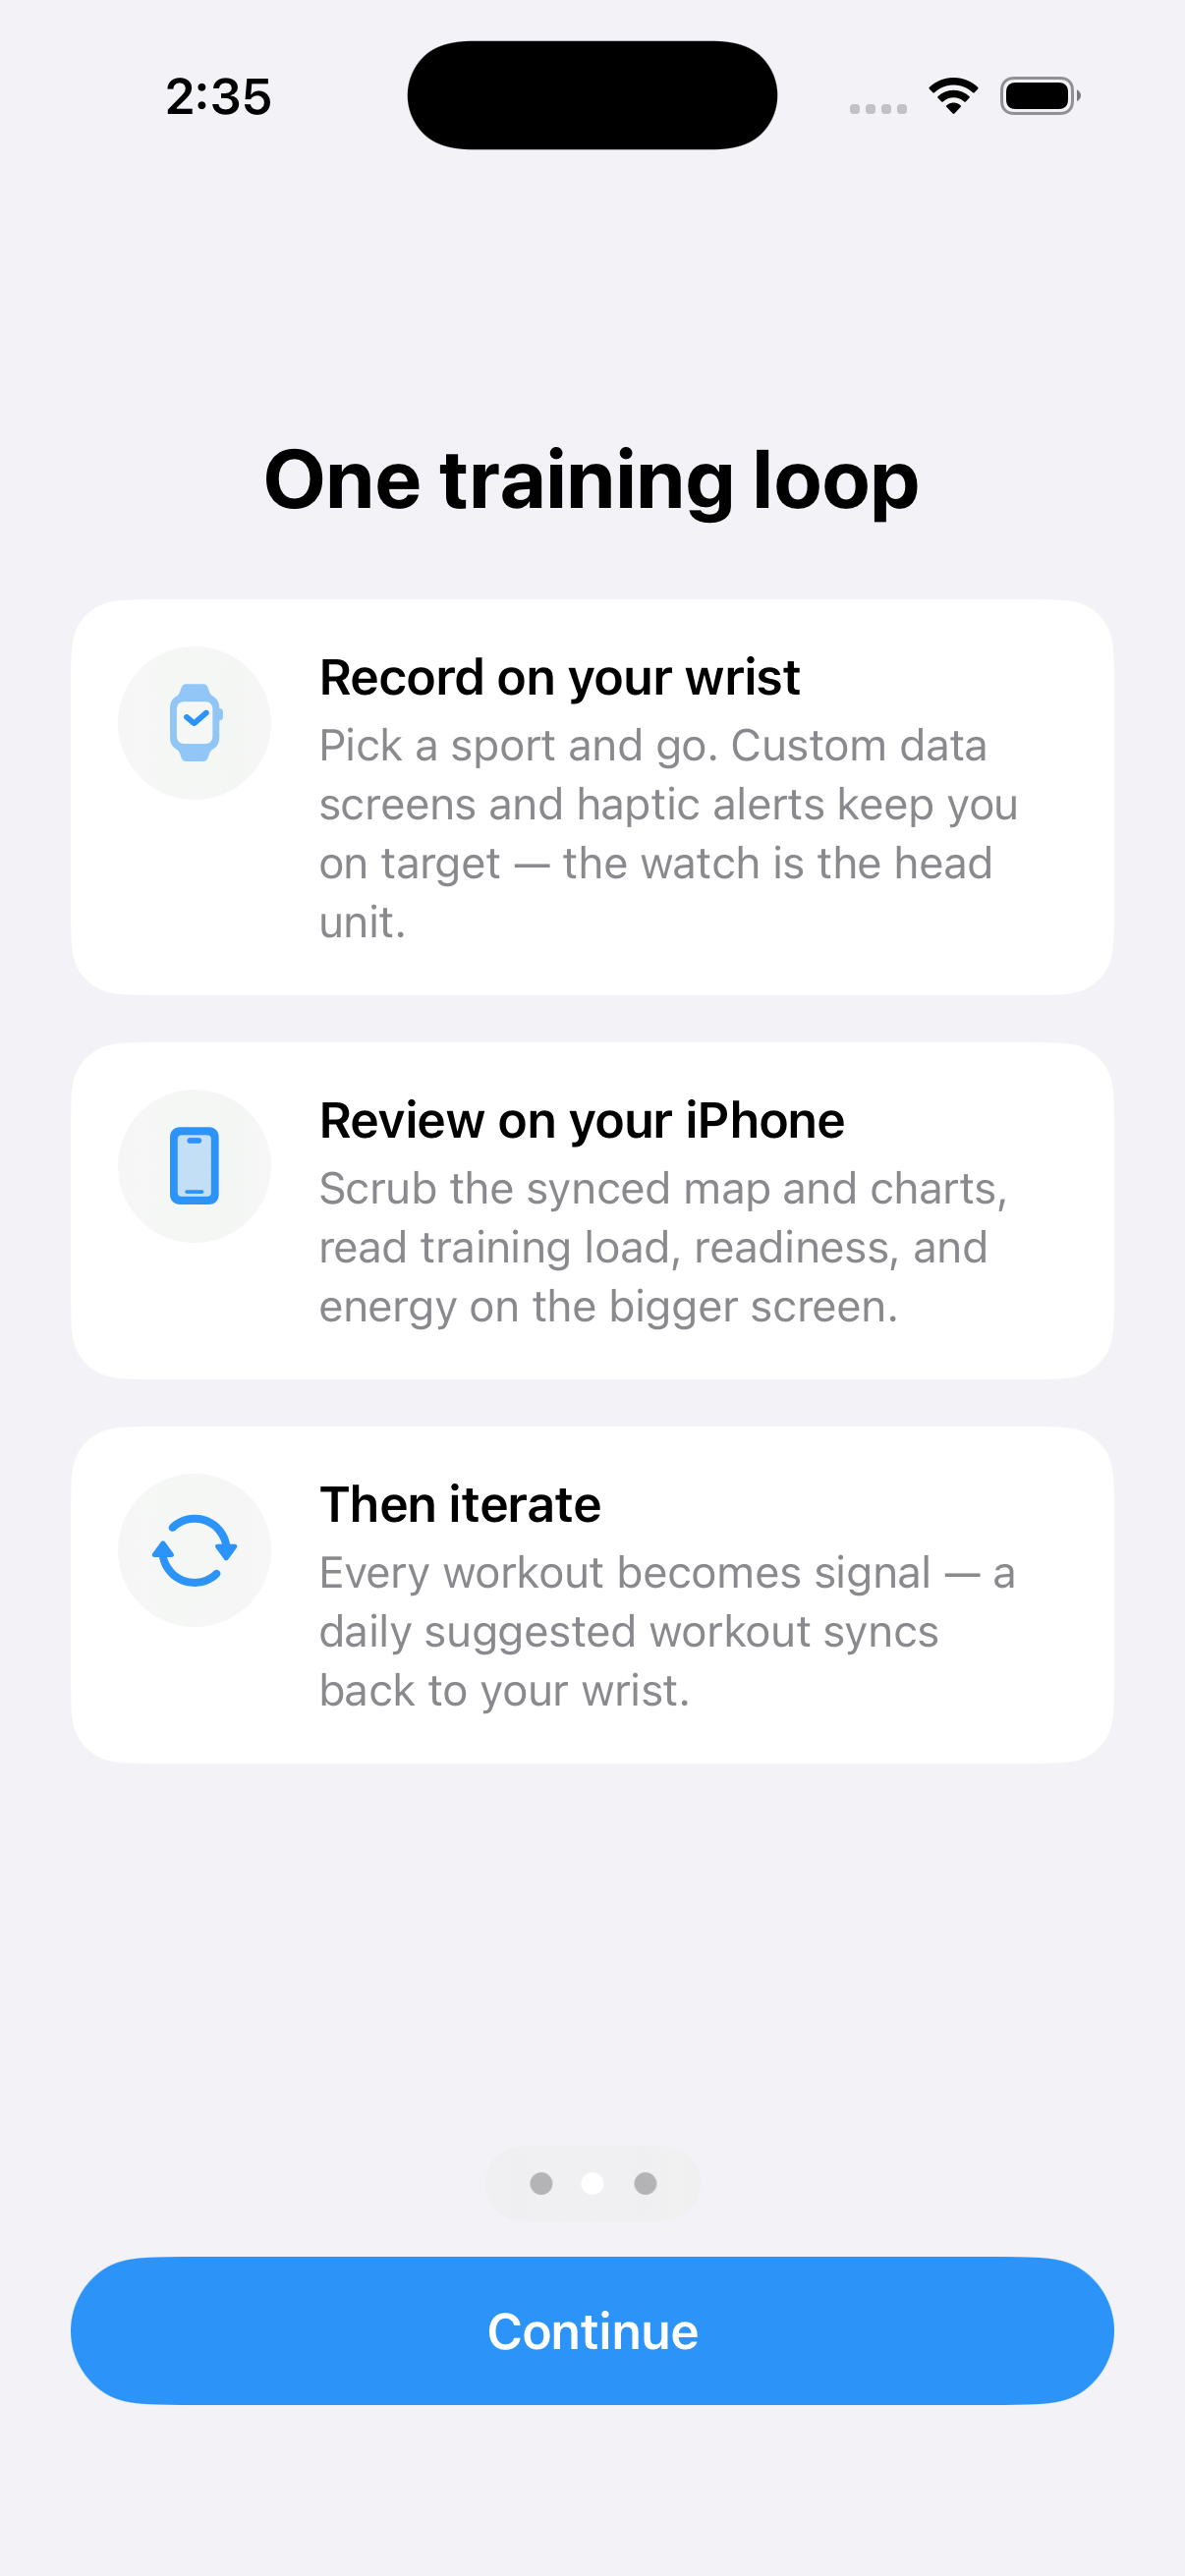
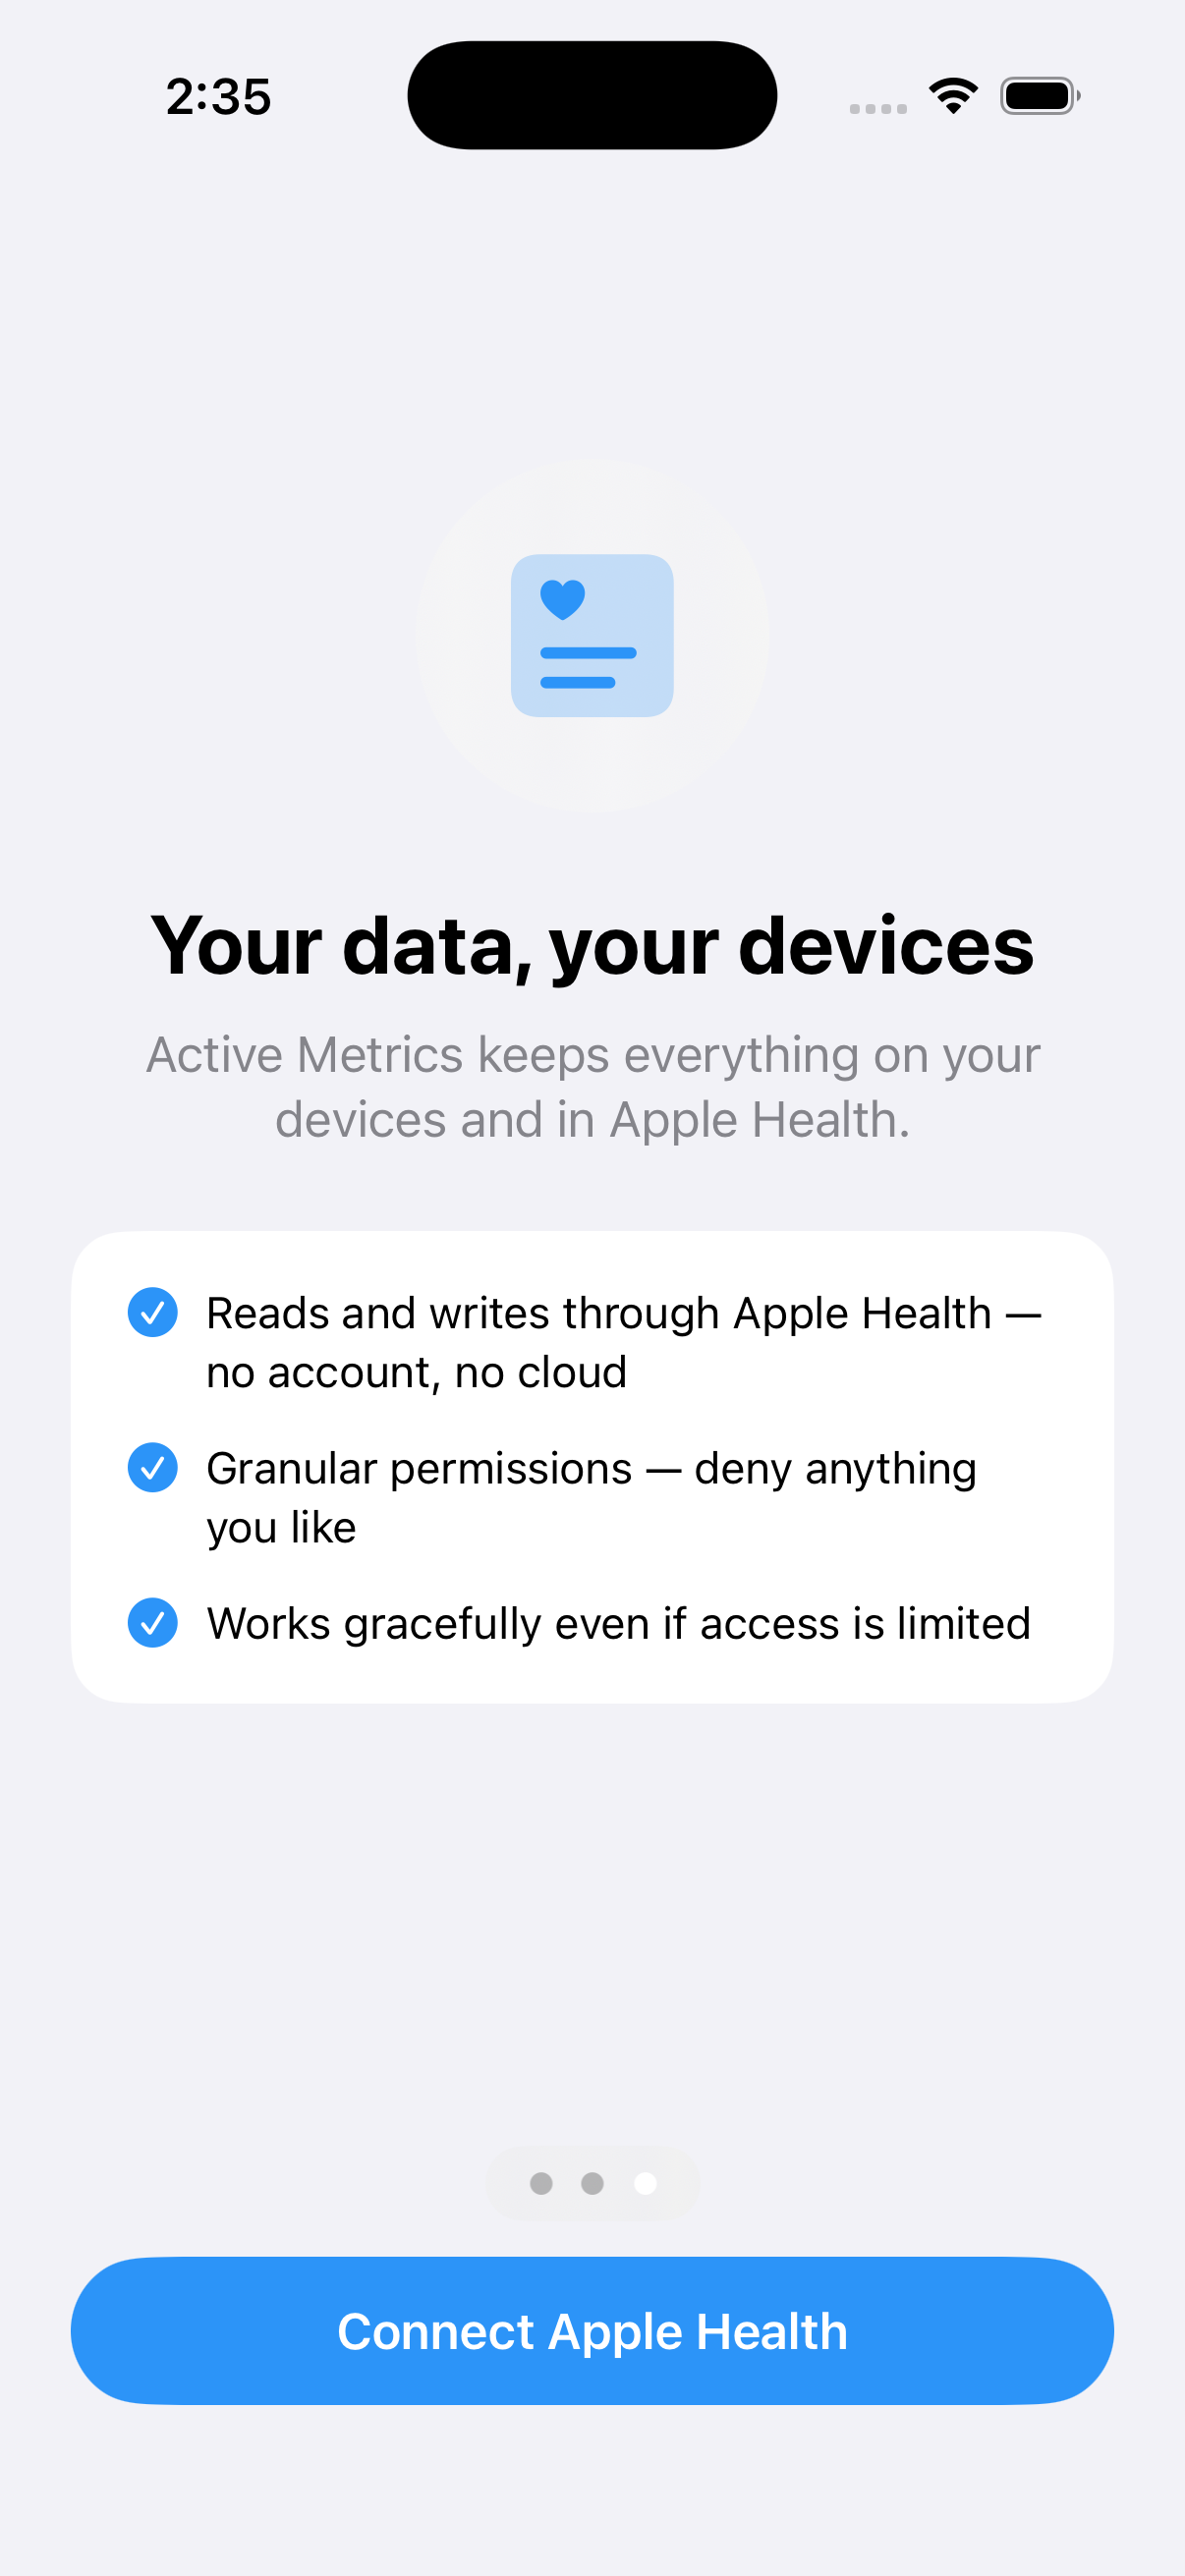
The first time you open the app, a short three-page tutorial explains how the watch and phone work together, then hands you off to grant Health access.
4. Grant permissions
Active Metrics asks for permissions as you use features, not all up front:
- Health — required to read workout data and save completed workouts. Asked during onboarding.
- Location — records your route. Asked the first time you start an outdoor workout.
- Motion & Fitness — rep counting during strength training. Asked the first time you start a strength workout.
- Bluetooth — only if you pair an external sensor (heart-rate strap, power meter, etc.).
Deny any of these and the app keeps working with reduced functionality. The privacy policy explains exactly what each permission is used for.
5. Start your first workout
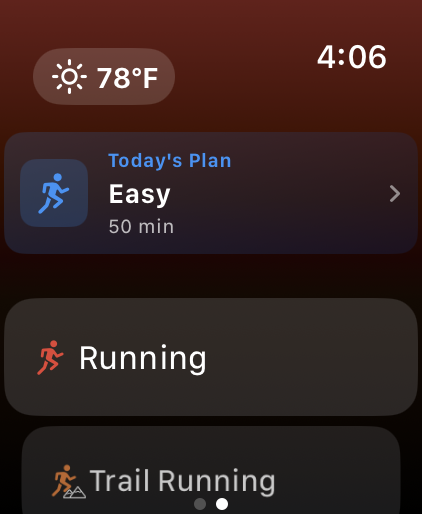
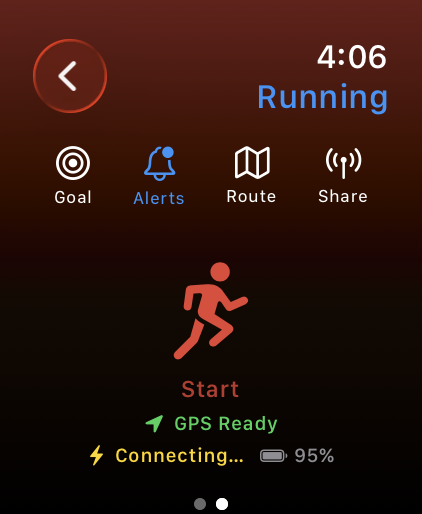
On your watch, open Active Metrics and pick a sport from the start screen. Tap the sport to configure a goal, alerts, a route, or live sharing before you start.
6. Where results show up
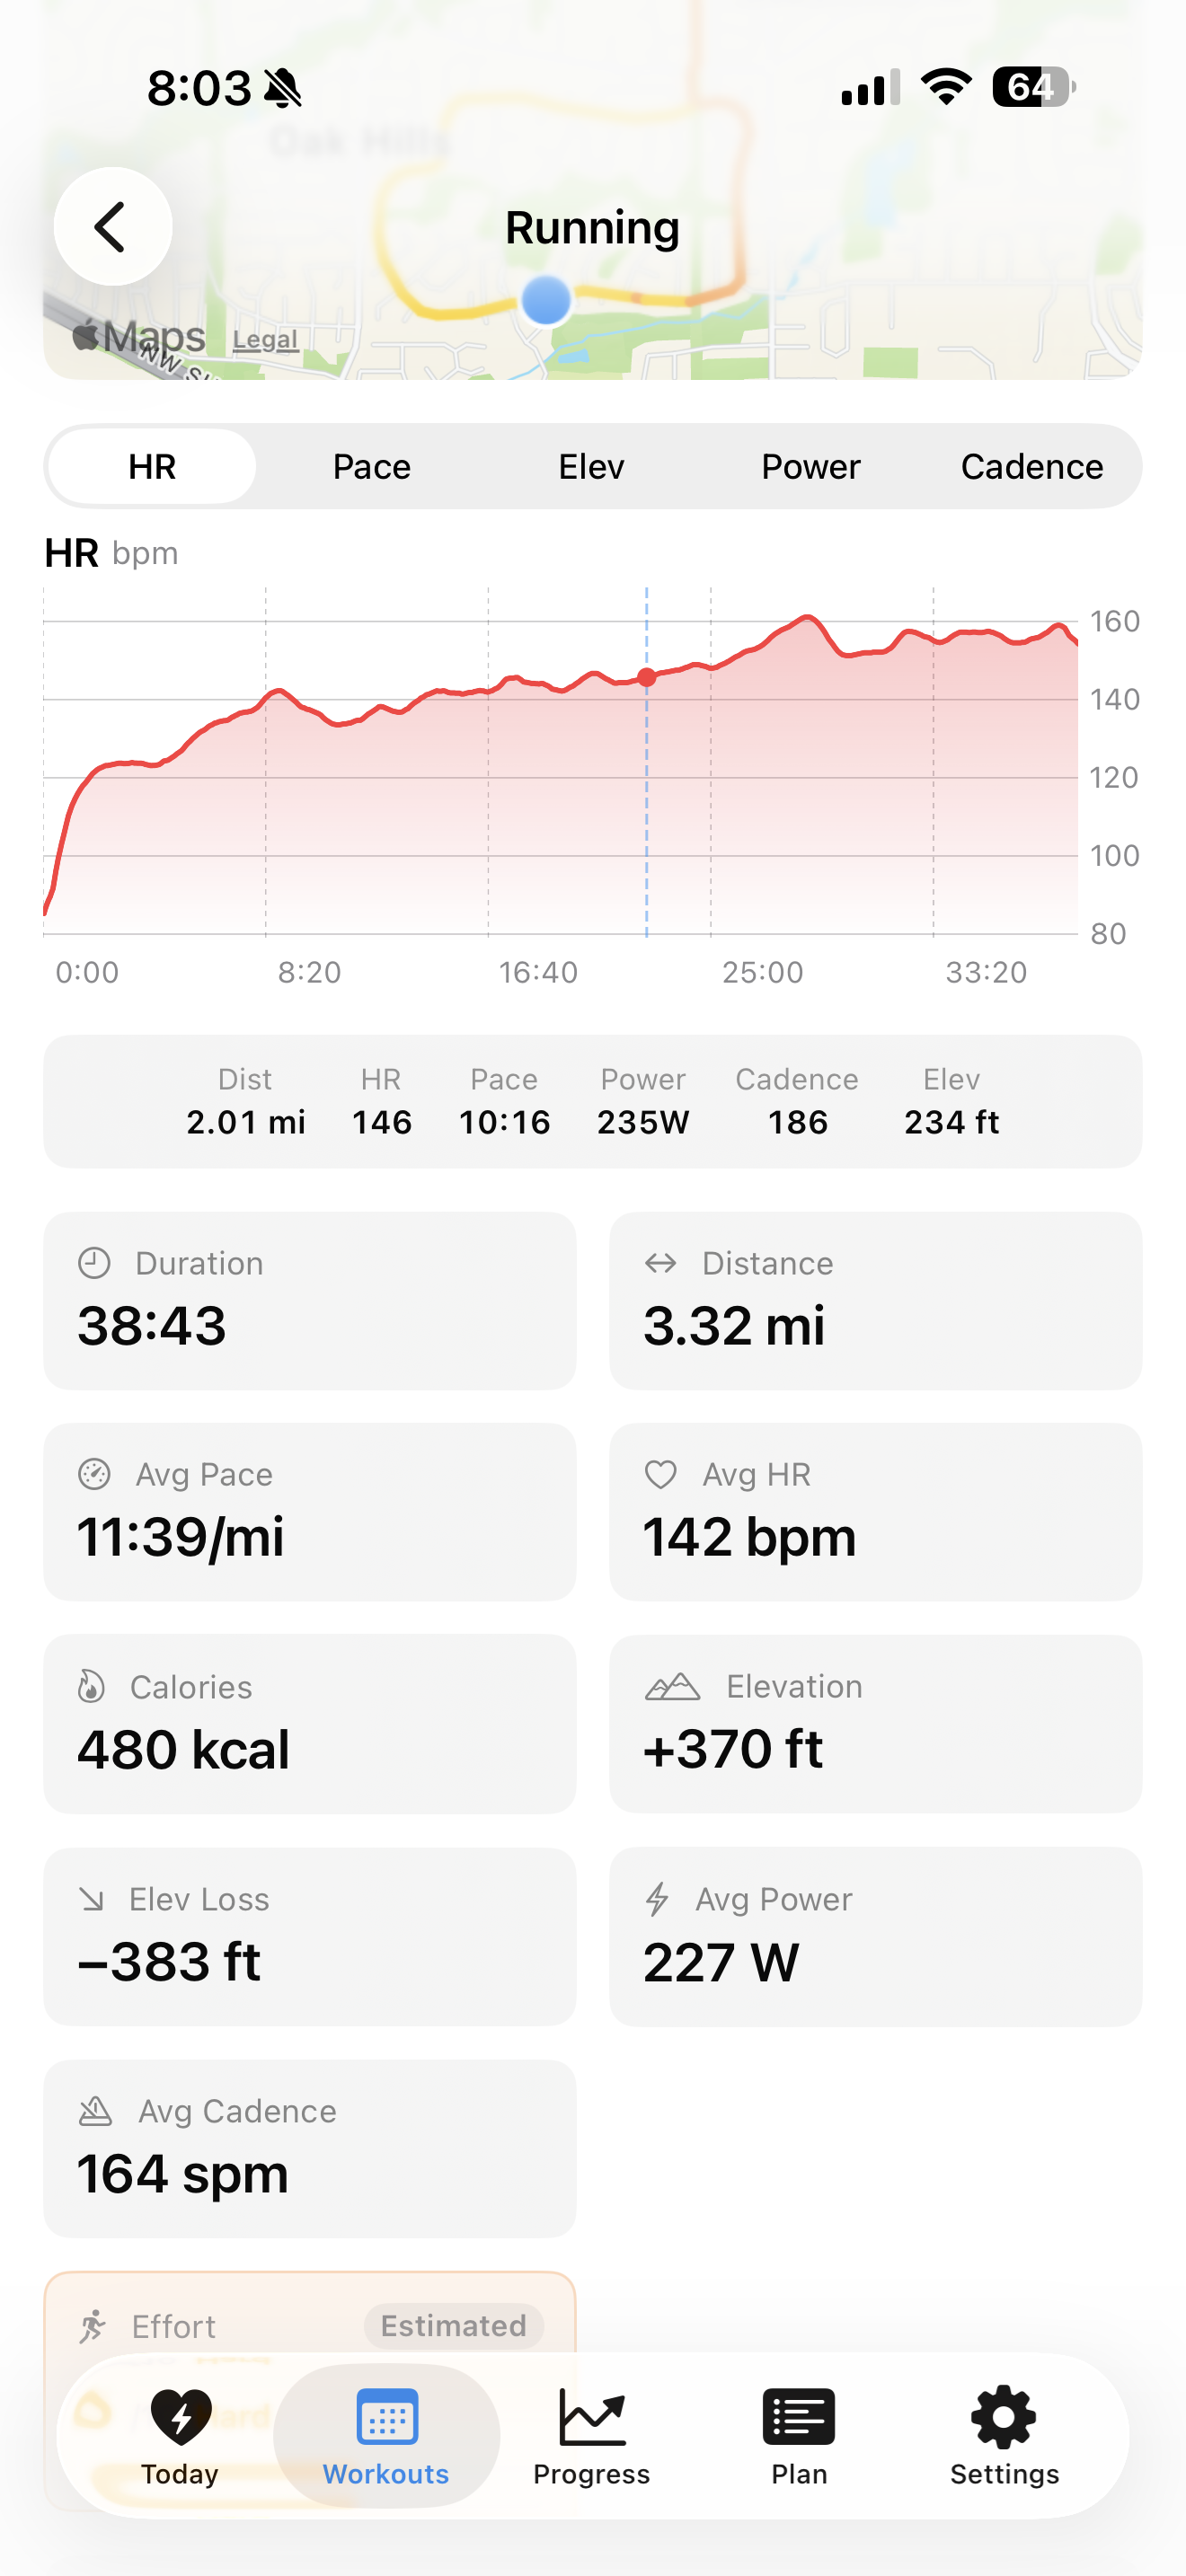
End a workout on your watch and it saves to Apple Health, then syncs to your iPhone through your own iCloud account. Open the Workouts tab on iPhone to review the map, charts, and splits.
Where to go next
Once you’ve logged a workout or two:
- Workouts — goals, alerts, intervals, and everything the watch can do mid-run.
- Data Screens — show the metrics you actually care about mid-workout.
- Analytics & Training Load — what readiness and training load mean, and why they need a few days of data before saying anything useful.
- Support — how to reach us, and how to file a bug report we can act on.
Stuck on something? Check Support or email [email protected].